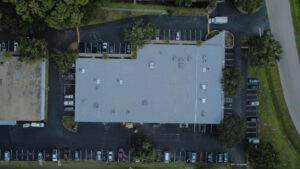
Bertha brought heavy rain and strong winds across Tampa Bay, exactly the kind of weather that can expose weak points in a commercial roofing system. Whether you manage a retail plaza in St. Petersburg, a warehouse near the port, or an office building in Tampa, the hours before and after a storm are the best time to protect your property, your tenants, and your budget.
This guide covers pre-storm roof inspection steps and a post-storm roof inspection checklist for commercial buildings in Tampa Bay, plus when to call a professional for a commercial roof inspection in Tampa Bay.
Why Commercial Storm Inpections Matter (and how they reduce downtime)
Commercial roofs take a different kind of beating than residential systems. Large surface areas, rooftop equipment, drains and scuppers, parapet walls, and foot traffic all create more potential failure points. After a wind-and-rain event like Bertha, even “minor” issues can turn into:
- Interior leaks that disrupt operations
- Mold and indoor air quality concerns
- Damaged insulation that drives up energy costs
- Slip hazards from ponding water
- Premature roof failure and shortened roof lifespan
- Warranty issues if maintenance/repairs aren’t documented
A consistent commercial roof inspection routine helps you catch problems early, document storm-related roof damage, and reduce business disruption.
Pre-Storm Roof Inspection Checklist For Commercial Buildings
If a storm is in the forecast, the goal is simple: reduce the chance that wind or water finds an easy entry point.
1. Clear Roof Drains, Scuppers, and Gutters
In Tampa Bay, heavy rain can overwhelm drainage fast, especially if debris is already blocking the path.
- Remove leaves, branches, and trash from roof drains
- Check scuppers for clogs
- Make sure downspouts discharge away from the building
- Confirm drain strainers/baskets are in place
Why it matters: Clogged drainage leads to ponding water. Ponding increases the risk of leaks, membrane stress, and structural load.
2. Inspect The Roof Perimeter For Loose Edge Metal And Lifted Membrane
Wind often attacks the roof at the perimeter first.
- Inspect coping caps, edge metal, and termination bars
- Look for lifted memebrane edges or loose fasteners
- Check parapet wall flashing and counterflashing
Tip: If you see “fluttering” membrane edges during wind, that’s a red flag that needs attention.
3. Check Roof Penetrations And Rooftop Equipment Flashings
Commercial roofs have more penetrations than most people realize.
- Pipe boots and penetration flashing
- HVAC curbs and equipment stands
- Conduit supports and cable penetrations
- Skylights and smoke hatches
Look for cracked sealant, gaps, loose metal, or deteriorated flashing.
4. Secure Loose Rooftop Items To Prevent Debris Damage
Before storms, roofs can become a source of flying debris.
- Secure or remove loose pavers, tools, and materials
- Strap down rooftop equipment covers if applicable
- Make sure access hatches are closed and latched
5. Document Roof Conditions Before the Storm (for insurance and warranty)
Take timestamped photos (or video) of:
- Overall roof surface
- Seams and transitions
- Flashing and penetrations
- Drain areas
- Any existing trouble spots
Why it matters: Documentation helps separate pre-existing wear from storm-related damage if you need to file a claim.
Post-Storm Roof Inspection Checklist (after heavy rain and wind)
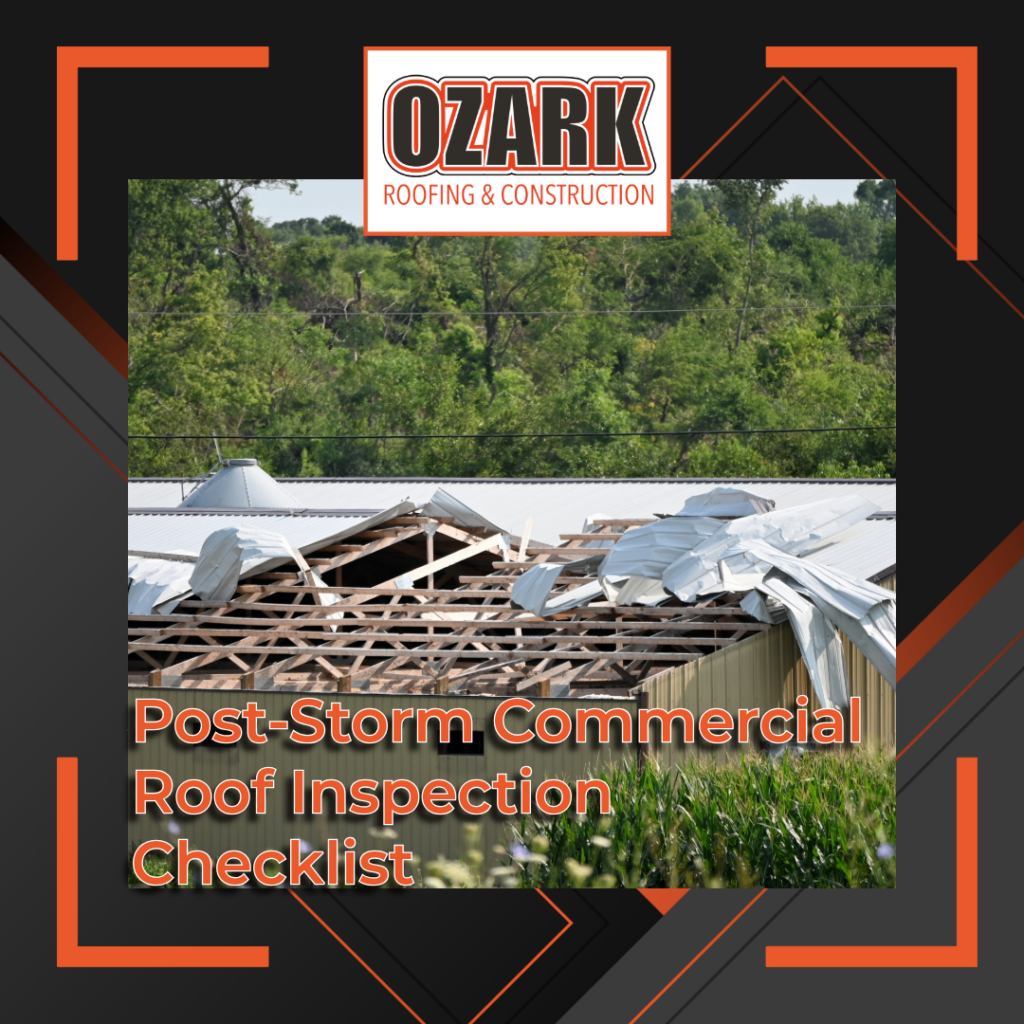
After the storm passes, your priority is safety first, then fast identification of water entry points.
Safety First: Before Anyone Steps On The Roof
- Avoid roof access during or immediately after high winds
- Watch for downed power lines and damaged electrical equipment
- Be cautious of slick surfaces, algae, and standing water
- If the roof is steep, high, or difficult to access, call a professional
If you suspect structural damage (sagging deck, unusual noises, ceiling movement), keep people out of affected areas and contact a professional immediately.
1. Start Inside: Signs Of A Commercial Roof Leak
Before you go up top, walk the interior.
- Ceiling stains, bubbling paint, or dripping
- Wet tiles or warped ceiling grids
- Musty odors (potential hidden moisture)
- Water around electrical panels or equipment
- Leaks near exterior walls and corners
Mark leak locations on a simple floor plan; this helps your roofer trace the source.
2. Inspect The Roof Surface For Wind Damage And Punctures
Common post-storm commercial rof issues include:
- Lifted membrane, wrinkles or “billowing”
- Punctures from debris
- Torn flashing at corners and/or edges
- Damage edge metal and coping caps
Even a small puncture can allow water into insulation layers, spreading far beyond the visible entry point.
3. Check Seams, Laps, and Transitions For Separation
Seams are a frequent failure point after wind events.
- Look for open seams, peeling tape, or separated welds
- Pay attention to transitions around parapets and equipment curbs
- Check areas where different materials meet
4. Look For Ponding Water And Drainage Problems
After heavy rain, standing water can reveal drainage issues.
- Note areas where water remains 48 hours after rainfall
- Check drain rings and strainers for debris
- Inspect scuppers for blockage
Ponding can accelerate deterioration and increase leak risk, especially if it’s a recurring pattern.
5. Examine Rooftop Equipment Curbs, Pitch Pans, and Sealant Joints
Wind-driven rain can push water sideways and upward.
- Inspect HVAC curbs and pitch pans
- Check sealant joints for cracks or separation
- Look for missing fasteners or loose metal
6. Take Photos And Create A Storm Damage File
Create a simple “storm file” for Bertha (and future storms):
- Date/Time of storm impact
- Photos/videos of damage
- Interior leak notes and locations
- Any temporary mitigation steps taken
- Copies of repair invoices and inspection reports
This documentation can be valuable for insurance and warranty purposes.
Temporary Leak Mitigation: What To Do Right Away
If you find active leaks or obvious damage:
- Place buckets and protect inventory/equipment
- Move sensitive materials away from leak areas
- Use plastic sheeting to reduce interior exposure
- Do not attempt permanent repairs without proper materials and training
For roof-level temporary measures (like tarping), it’s best to have a licensed professional handle it, especially on large commercial roofs.
When To Schedule A Professional Commercial Roof Inspection In Tampa Bay
Call for a professional inspection if you notice:
- Any interior leaking or water staining
- Lifted membrane, punctures, or torn flashing
- Loose edge metal/coping
- Recurring ponding water
- Damage around rooftop equipment
- Concerns about warranty compliance
A professional commercail roof inspection can include moisture detection, detailed photo documentation, and repair reocmmendations prioritized by urgency.
Protect Your Commercial Building Before The Next Storm
Storm season in Tampa Bay doesn’t wait. A proactive plan- pre-storm roof inspections plus post-storm roof inspections after major weater- can reduce emergency repairs and help extend the life of your commercial roof.
If your building took a hit from Bertha’s wind and rain, Ozark Roofing and Construction can help assess the condition of your roof and recommend next steps.
Need A Commercial Roof Inspection Tampa Bay?
Contact our team to schedule a pre- or post-storm inspection and get clear, documented guidance on repairs and maintenance today.
Phone: 727-222-1863
Or schedule online through the link below.